Showing posts with label framing. Show all posts

Friday, May 18, 2012

Busy Bee/Framing - Part 3

Part 3 is the final part of the framing process. Here we will cut the glass, staple in the backing, place backing paper (dust cover) and finish with wiring. It's been a fun little three part series. I hope it gave you some insight into custom framing. We work hard to keep artwork looking as beautiful as possible. The frame is really the last step in presenting/preserving the artwork. So if you choose to do some framing, definitely ask for assistance or go with a friend and trust your instincts with designing. You might just have a "ah-ha" moment... "that's the one, that's the frame!" Happy Framing!!

We start with the matted/mounted print.

Next, we cut the glass.

place glass on top of matted print (inspect the mat for any dust sandwiched in between)

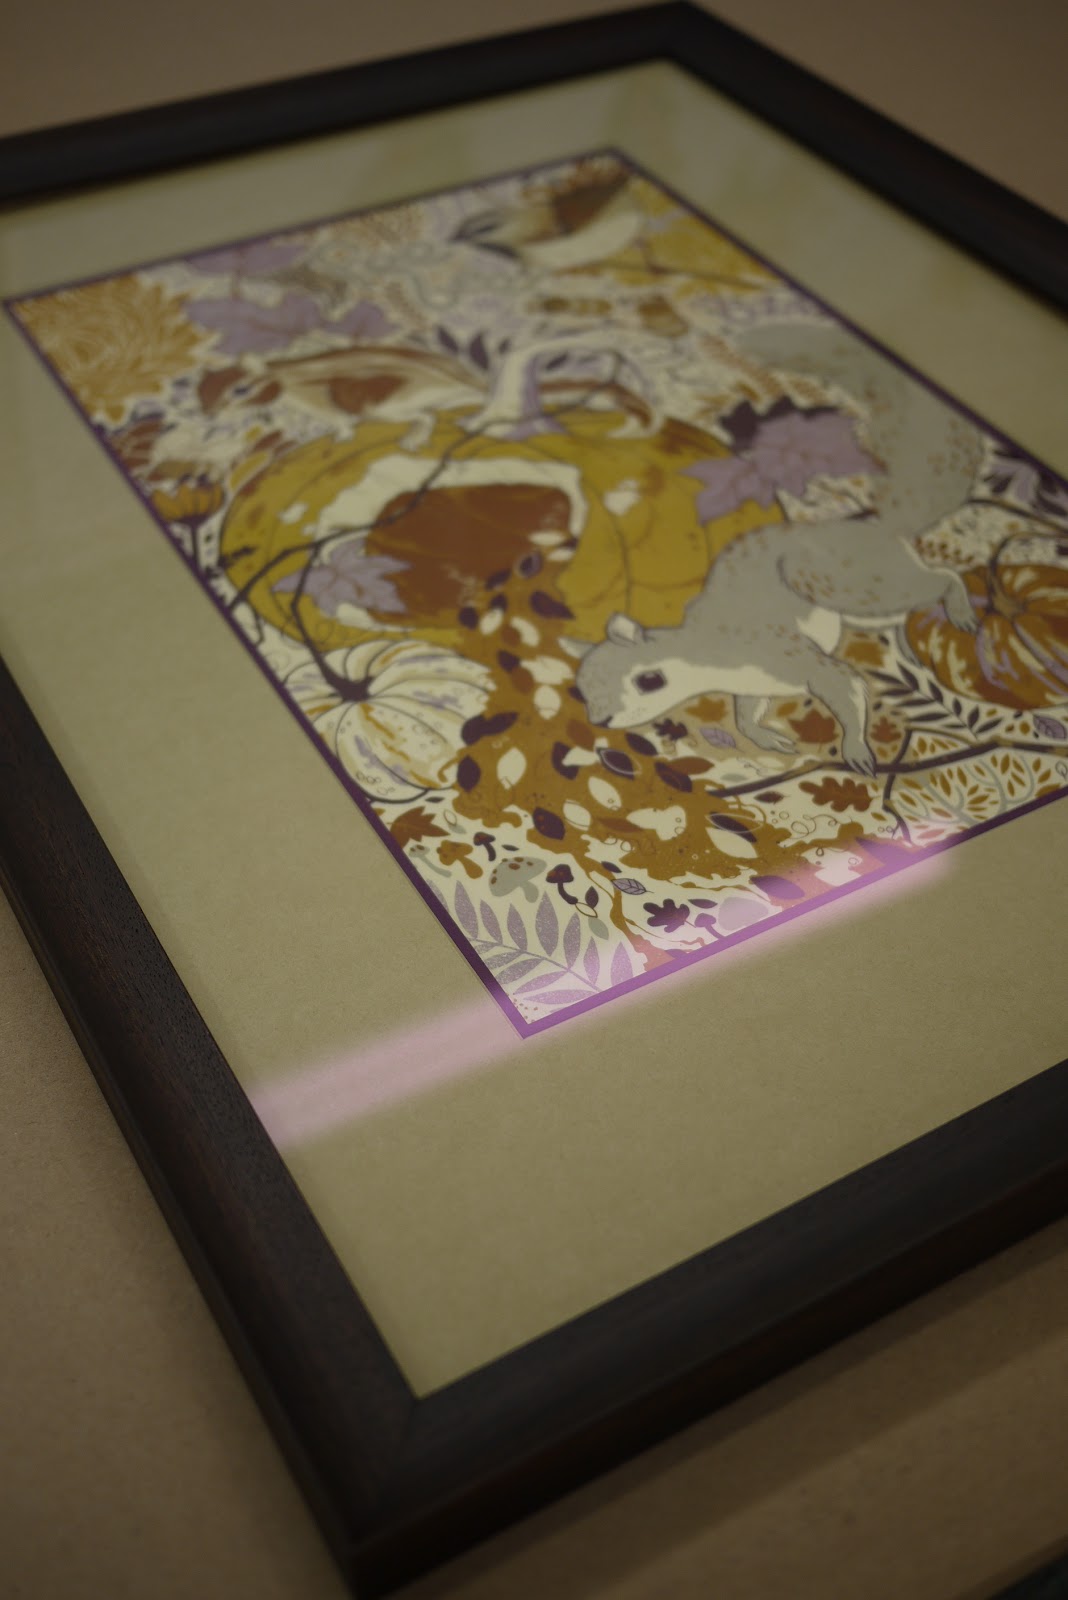
time to place the frame 

now we shoot some staples all around the back side (these staples hold the artwork into the frame)

grab your double sticky tape and tape the edges of the frame

have a piece of backing paper a little larger than the outside dimensions (use razor to cut the excess paper)

the razor gives a nice clean line all around

bump-on's help your piece from swaying on the wall

place them at the bottom two corners

measure a third down from the top and make a mark

twist in the screw eyes on both sides

remember to make a nice loop around the screw eye for stability

and loop around the wire as well for stability

Viola! 

ready to hang

two are ready for hanging!

Thursday, May 10, 2012

Busy Bee/Framing - Part 2

We left off in Part 1 with designing each piece. This post is Part 2, mounting the artwork, cutting the mat and building the frame. There are so many layers to a framed piece of work. I think it's important for people to see the process of framing because it's kind of a big task. We do a lot of measuring, cutting, mounting, gluing, nailing, taping, cleaning, and wrapping. I love it! It keeps my hands busy and my mind at work. It's just too bad how expensive it can be but I always ask people how much they spend on a pair of nice prescription glasses (usually about $300 - granted they're usually designer frames). Framing can be as fun as buying a pair of stylish eyeglasses. Art framing is almost better because you usually don't lose the framed pieces as fast as a pair of glasses. It's an investment! You are supporting the artist as well as the small business framing shop.  Do some framing but only with pieces that you absolutely love!!

First we mount the print with archival photo corners. This is a completely reversible process.

This machine is called the Wizard (mat cutter). It's very magical and almost perfect.

First mat is cut and taped (acid-free double sticky tape) down to acid-free foam board. 

Voila! The bottom mat is reverse bevel and top mat is regular bevel. Looks nice!

Second piece is ready for it's frame.

For cutting the moulding, we want to adjust the ruler to our measurements.


 Bevel cut!


We marker the edges so the raw wood doesn't show when glued together.

 Time for wood glue

 Place two ends into the brace and then into the V-nailer. 

All done with mounting, matting and building the frames. Next we will do the fittings (glass, backing and hardware). I will post Part 3 next week! See you soon! Follow this blog if you wanna :)


Tuesday, May 1, 2012

Busy Bee/Framing - Part 1

We got some beautiful prints from Society 6 at work last week. I love them and want them but it's for a display so I'll have to wait. If you are looking for some inexpensive lively art prints check out Society6. They have many categories to choose from as well as artist you can search for like myself! I put some of my prints on there to see if I have better luck selling. I hope so!

Well, I'm posting a series on the process of framing. It's just a step-to-step guide on designing and framing art prints. It's simple and fun! If you have any questions contact me with my new button on the right of my home page. ---------------------------------------------------------------------------------------------->>>>

 Isn't it exciting to get things in the mail... I love it!

I lay them out and look at all the details within each one.

 I love the texture on her hat.

 The plum color is gorgeous in this print.

The hints of red around the wings are striking.

 Matting is next!

The orange is wonderful in this piece. The top mat is not quite the right color.

This grey is a better match and I think I'll add the orange at the bottom but only 1/16 of reveal. I'm enjoying the wood grain finish on this frame. It reminds me of drift wood. If I were in the landscape of this picture I can see myself finding wood like this around.

so much to choose from...

The texture on this frame matches the texture of her hat! The Gold brings out the landscape and pops the blue sky out. I placed a fabric liner to make a nice transition from the frame to the image.

 I think I'll frame this right to the image. Make this one simple since it's got a lot going on.

In the same series frames from above. There was a plum colored frame. Perfect!

voila! 

Stay tuned! I will start cutting the mats, mounting the artwork and building the frame for Part two. See you soon.


Friday, April 13, 2012

Busy Bee/Framing - Introduction

I'm an art framer and absolutely love it. I went to school at UF for Fine Arts and basically spent a lot of money to paint all day and drink beer; which is good and bad but we won't get into this. After graduating, I landed this "not so wealthy" of a framing job and I'm grateful that I did, even if I'm a little on the poor side. I've worked many of places; some retail, some food and some computer jobs. Framing just keeps coming back around to me. It's been 8 years now framing and I still get to see all sorts of really amazing artwork as well as some really bad stuff (stuff you question, really?). Meeting the people are just as cool as framing the pieces (the stories!) Overall I love using my hands and designing pieces that really need a boost as well as making friends with the community wherever I am.

Here are some photos from work:

I recently framed these florida watercolors (below as well) for the store and they sold a week later!


This is a Mola. Pretty interesting how popular they are. We get people saying they have one at home almost every week and that they want us to frame it exactly this way. I personally am not thrilled about the yellow but it really shouts out to the public "Hey look, I'm a Mola!"

I designed this one for my boss who is a big time collecter of maps, folk art and anything african. He doesn't need an excuse to frame. Anything and everything that can fit in a frame should be in a frame. haha

This is my little guy I framed to display at the store. It's cute. I painted him when I was pregnant with Olivia for an art show in Orlando. 

If I'm not mistaken, I think these are African herding sticks. I'll have to ask what they are called.

Related Posts Plugin for WordPress, Blogger...