

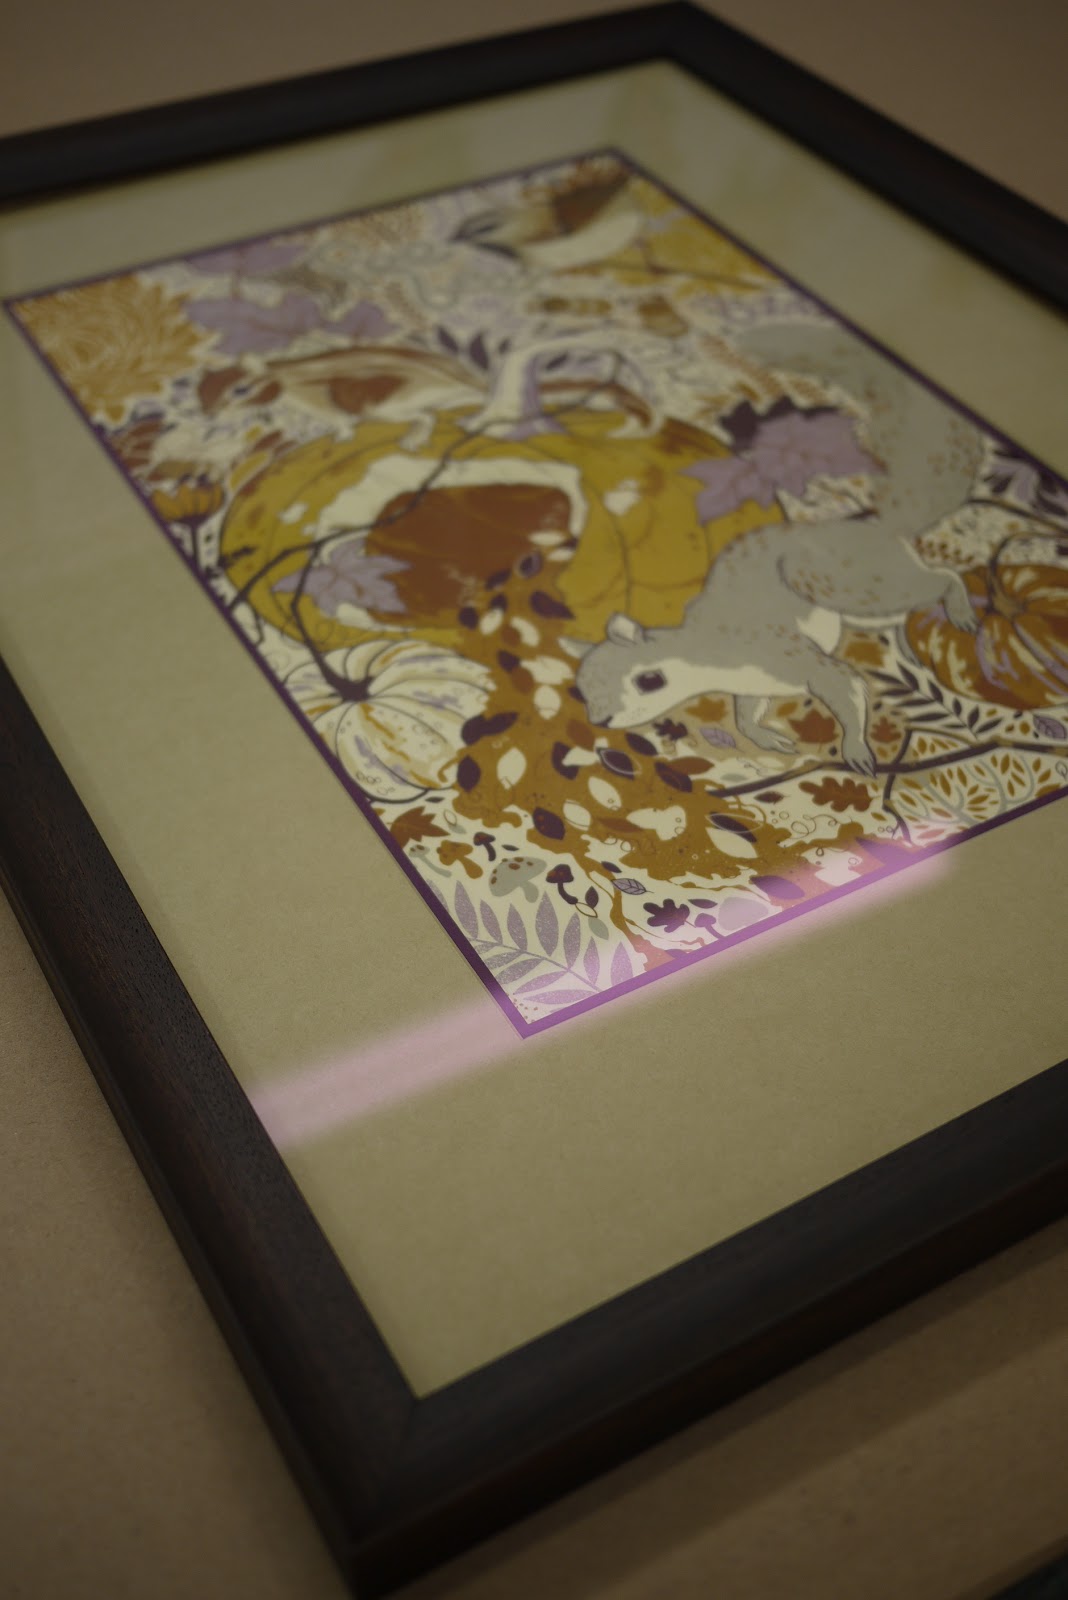
We start with the matted/mounted print.

Next, we cut the glass.

place glass on top of matted print (inspect the mat for any dust sandwiched in between)
time to place the frame

now we shoot some staples all around the back side (these staples hold the artwork into the frame)

grab your double sticky tape and tape the edges of the frame

have a piece of backing paper a little larger than the outside dimensions (use razor to cut the excess paper)

the razor gives a nice clean line all around

bump-on's help your piece from swaying on the wall

place them at the bottom two corners

measure a third down from the top and make a mark

twist in the screw eyes on both sides

remember to make a nice loop around the screw eye for stability

and loop around the wire as well for stability

Viola!

ready to hang

two are ready for hanging!
No comments:
Post a Comment